2.3. MSI Phase Diagrams and NOMAD Database
Contents
| download: | pdf |
|---|
2.3.1. Materials Science International (MSI) Phase Diagrams
2.3.1.1. Overview
With a license for MedeA MSI Phase Diagrams you have access to the world’s leading and most comprehensive database for phase diagrams and related materials property data for metals, alloys, non-metals, and composites.
2.3.1.2. Starting MSI Phase Diagrams
If your license key enables this database then you can start the search mask and dialogue, respectively, for this database with Tools >> MSI Phase Diagrams.

2.3.1.3. Searching Data
To search for available phase diagrams enter relevant element symbols in the empty field for the option
Elements list.
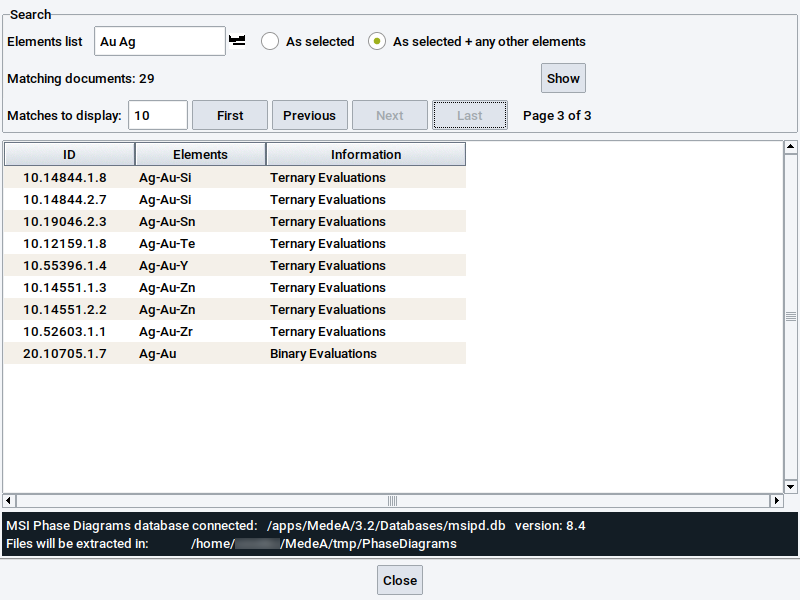
One way to enter the element symbols is by typing them in the empty field, e.g. Au Ag, and click
Show.
Note
Enter single element symbols or a list of element symbols.
In the latter case separate the elements with spaces (blanks).
Alternatively, click on the icon  and select relevant elements in the period table
of the elements.
By default the option As selected is enabled which implies that only records are listed in the below table which exactly match with the entered list of elements.

To extend the search to find more phase diagrams that are relevant for the defined elements and also for other elements mark the check box of the option As selected + any other elements and confirm with Show.

Note
It is also possible to enter element symbols by clicking on the icon  and select relevant elements in the periodic system of the elements.

To limit the amount of records that are displayed in the table, e.g. to 10 rows only, modify the number for
the option Matches to display accordingly.
The table will adapt automatically within a few seconds.

With limiting the amount of displayed records to a small number the entire table is distributed among several pages. To open the next page click on Next

To display the next and last page click on Next and Last, respectively.

To display again previous pages or the first page click on Previous and First, respectively.
2.3.1.4. Retrieving Data
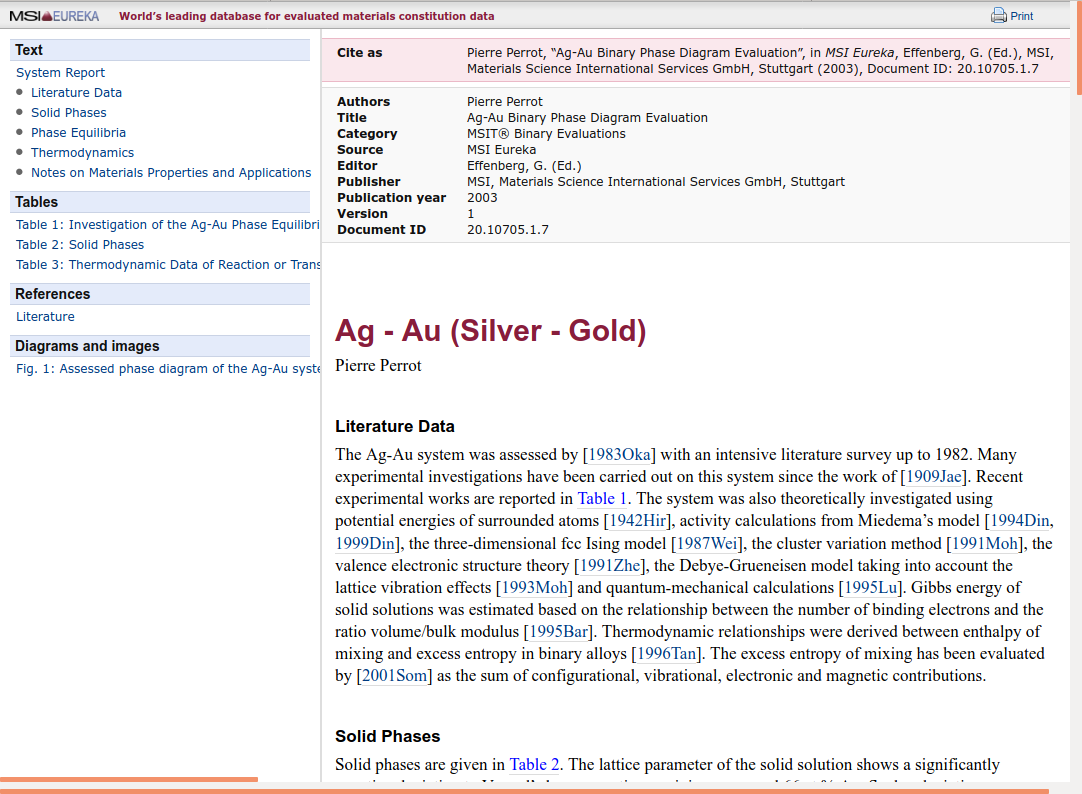
To retrieve a phase diagram and related data from the database, right-click on the relevant table row to open a context menu. In the context menu click on View document ….

The retrieved data is displayed in your preferred web browser. Use the browser features to browse through the displayed document.

Note
Feel free to open several documents with phase diagrams and related data side-by-side. Simply show the context menu of other table rows and open the associated docuement via View document ….
2.3.2. The Novel Materials Discovery (NOMAD) Repository
The NoMaD repository is a free and unrestricted service for publishing and storing the results of materials simulations. To use the service you must sign up for a NoMaD account using their website. The supported file formats and types that can be uploaded are summarized on the NoMaD page How to upload input and output files. Once signed up your NoMaD account page contains a token which is a text string of 64 alpha-numeric characters. This token, associates file uploads with your NoMaD account.
Within MedeA you can either select input and output files in a directory from disk or a previously completed job. During the upload process you will see a progress dialog and, once the upload has completed, a message from the NoMaD servers. The NoMaD parsers inspect every file in the upload to locate any output files produced by any of the supported compute engines (calculation codes) and file formats, respectively. If supported file formats are detected, the output files are added to the NoMaD repository. Any output files which are not supported by NoMaD are omitted and not added to the repository and database, respectively.
2.3.2.1. Define your NoMaD upload token
The NoMad upload token can be entered at two places in the MedeA GUI:
- File >> Preferences, Directories tab, NoMaD upload token
- File >> Upload files to NoMaD

Copy your token from your NoMaD account page and paste it into the relevant field.
Then select whether files should be uploaded from a Directory from Disk of your computer or from a Previous Calculation stored on a MedeA JobServer.
Hint
For the the option Previous Calculation it is important to select the proper JobServer via Jobs >> Select Server >> …
2.3.2.2. Upload files from disk
Upon selecting the option Directory from Disk a folder browser pops up to navigate to the relevant directory and to select files that should be uploaded. Start the actual upload with the Upload option.


2.3.2.3. Upload files from previous jobs
Upon selecting the option Previous Calculation a dialog pops up to select files of relevant jobs. Files are selected if tagged with a checkmark. Confirm the selection with Open.

2.3.2.4. Monitor file upload
Once the upload was successfully started the progress is monitored. The upload is complete once the message Upload finished appears in the dialog. To continue working with the MedeA GUI click on Close.

| download: | pdf |
|---|